How to securely use Tor on macOS with Kali Linux VM
Published on
-/- lines long
When surfing the dark web and opening .onion links, you should be extra paranoid about privacy and security. If you have a brand new MacBook Pro, it's definitely worth it to isolate it as best you can. In this article, we're going to:
-
Install VMware Fusion for setting up virtual machines
-
Set up a Kali Linux VM, suited for our ARM-based host machine
-
Set up a VPN in the VM that automatically starts on boot
-
Install a Tor browser
Download the virtualization software
There are many virtualization solutions out there, but here we're using VMware. And if we want to use VMware on macOS specifically, we need VMware Fusion(opens in new tab) (while VMware Workstation is for Windows and Linux only).
-
Register in Broadcom(opens in new tab) (who acquired VMware(opens in new tab) in 2023)
-
Log into your account
-
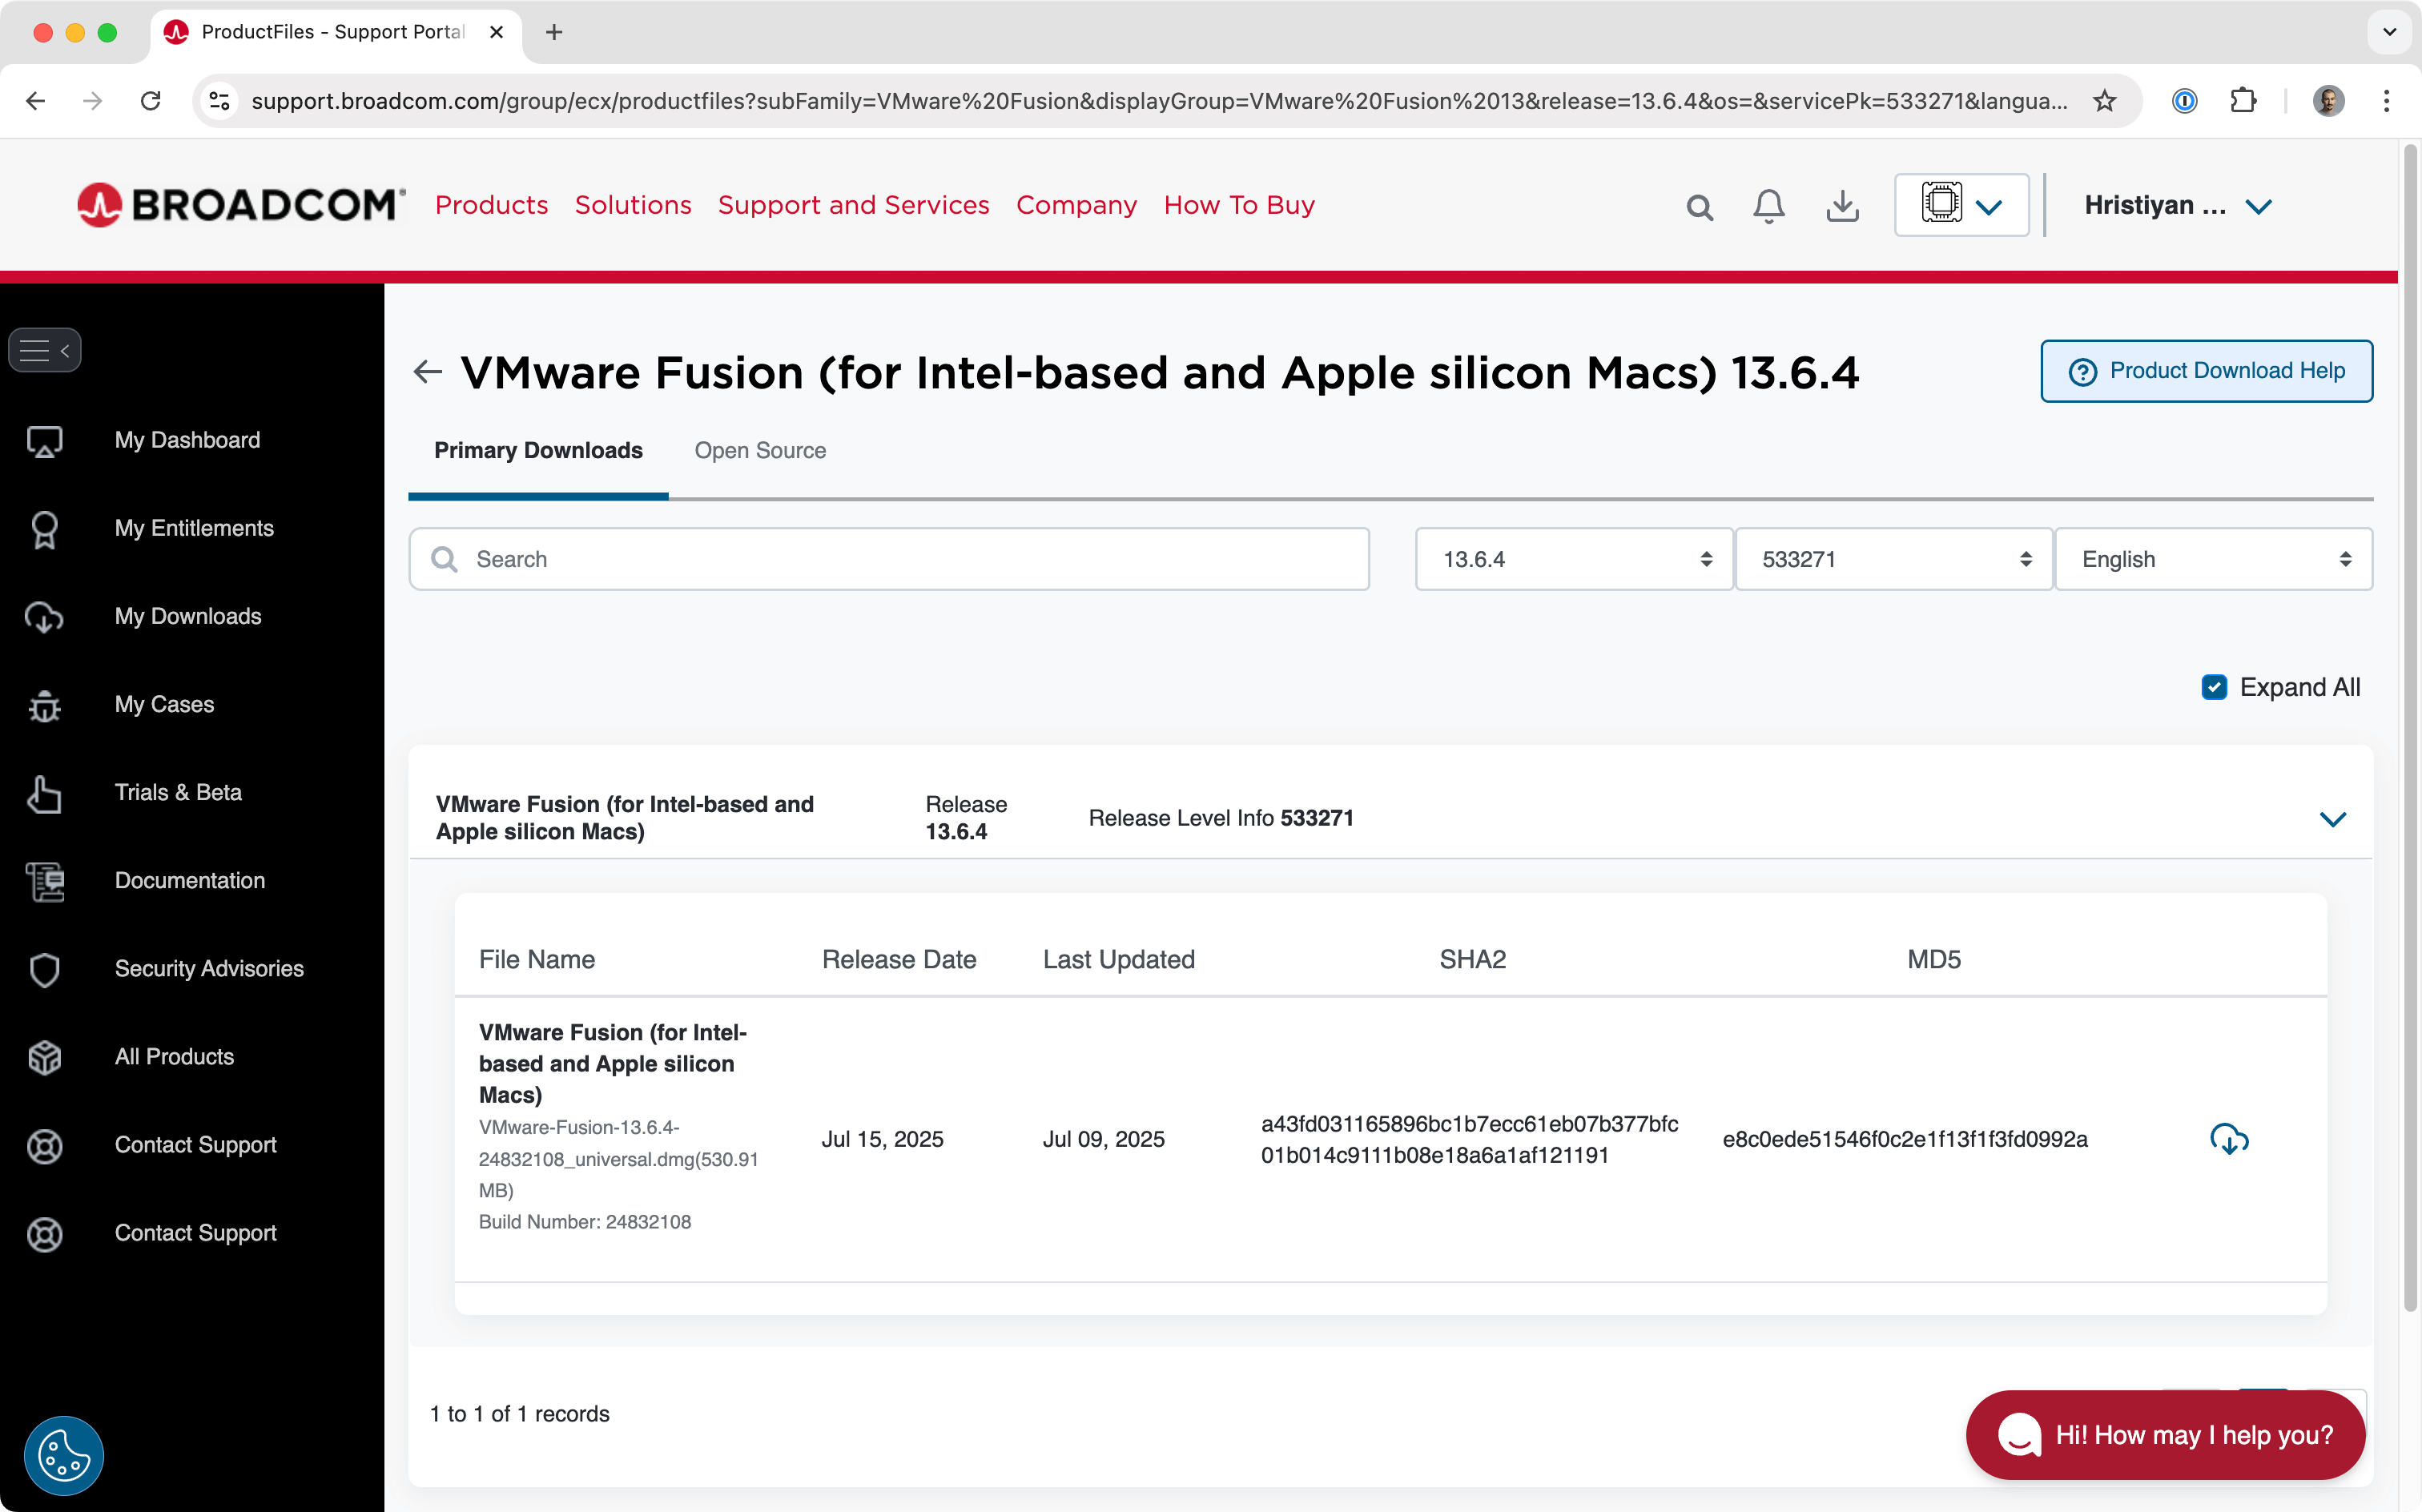
Download VMware Fusion(opens in new tab) (I'm using version 13.6.4):
Set up the VM
-
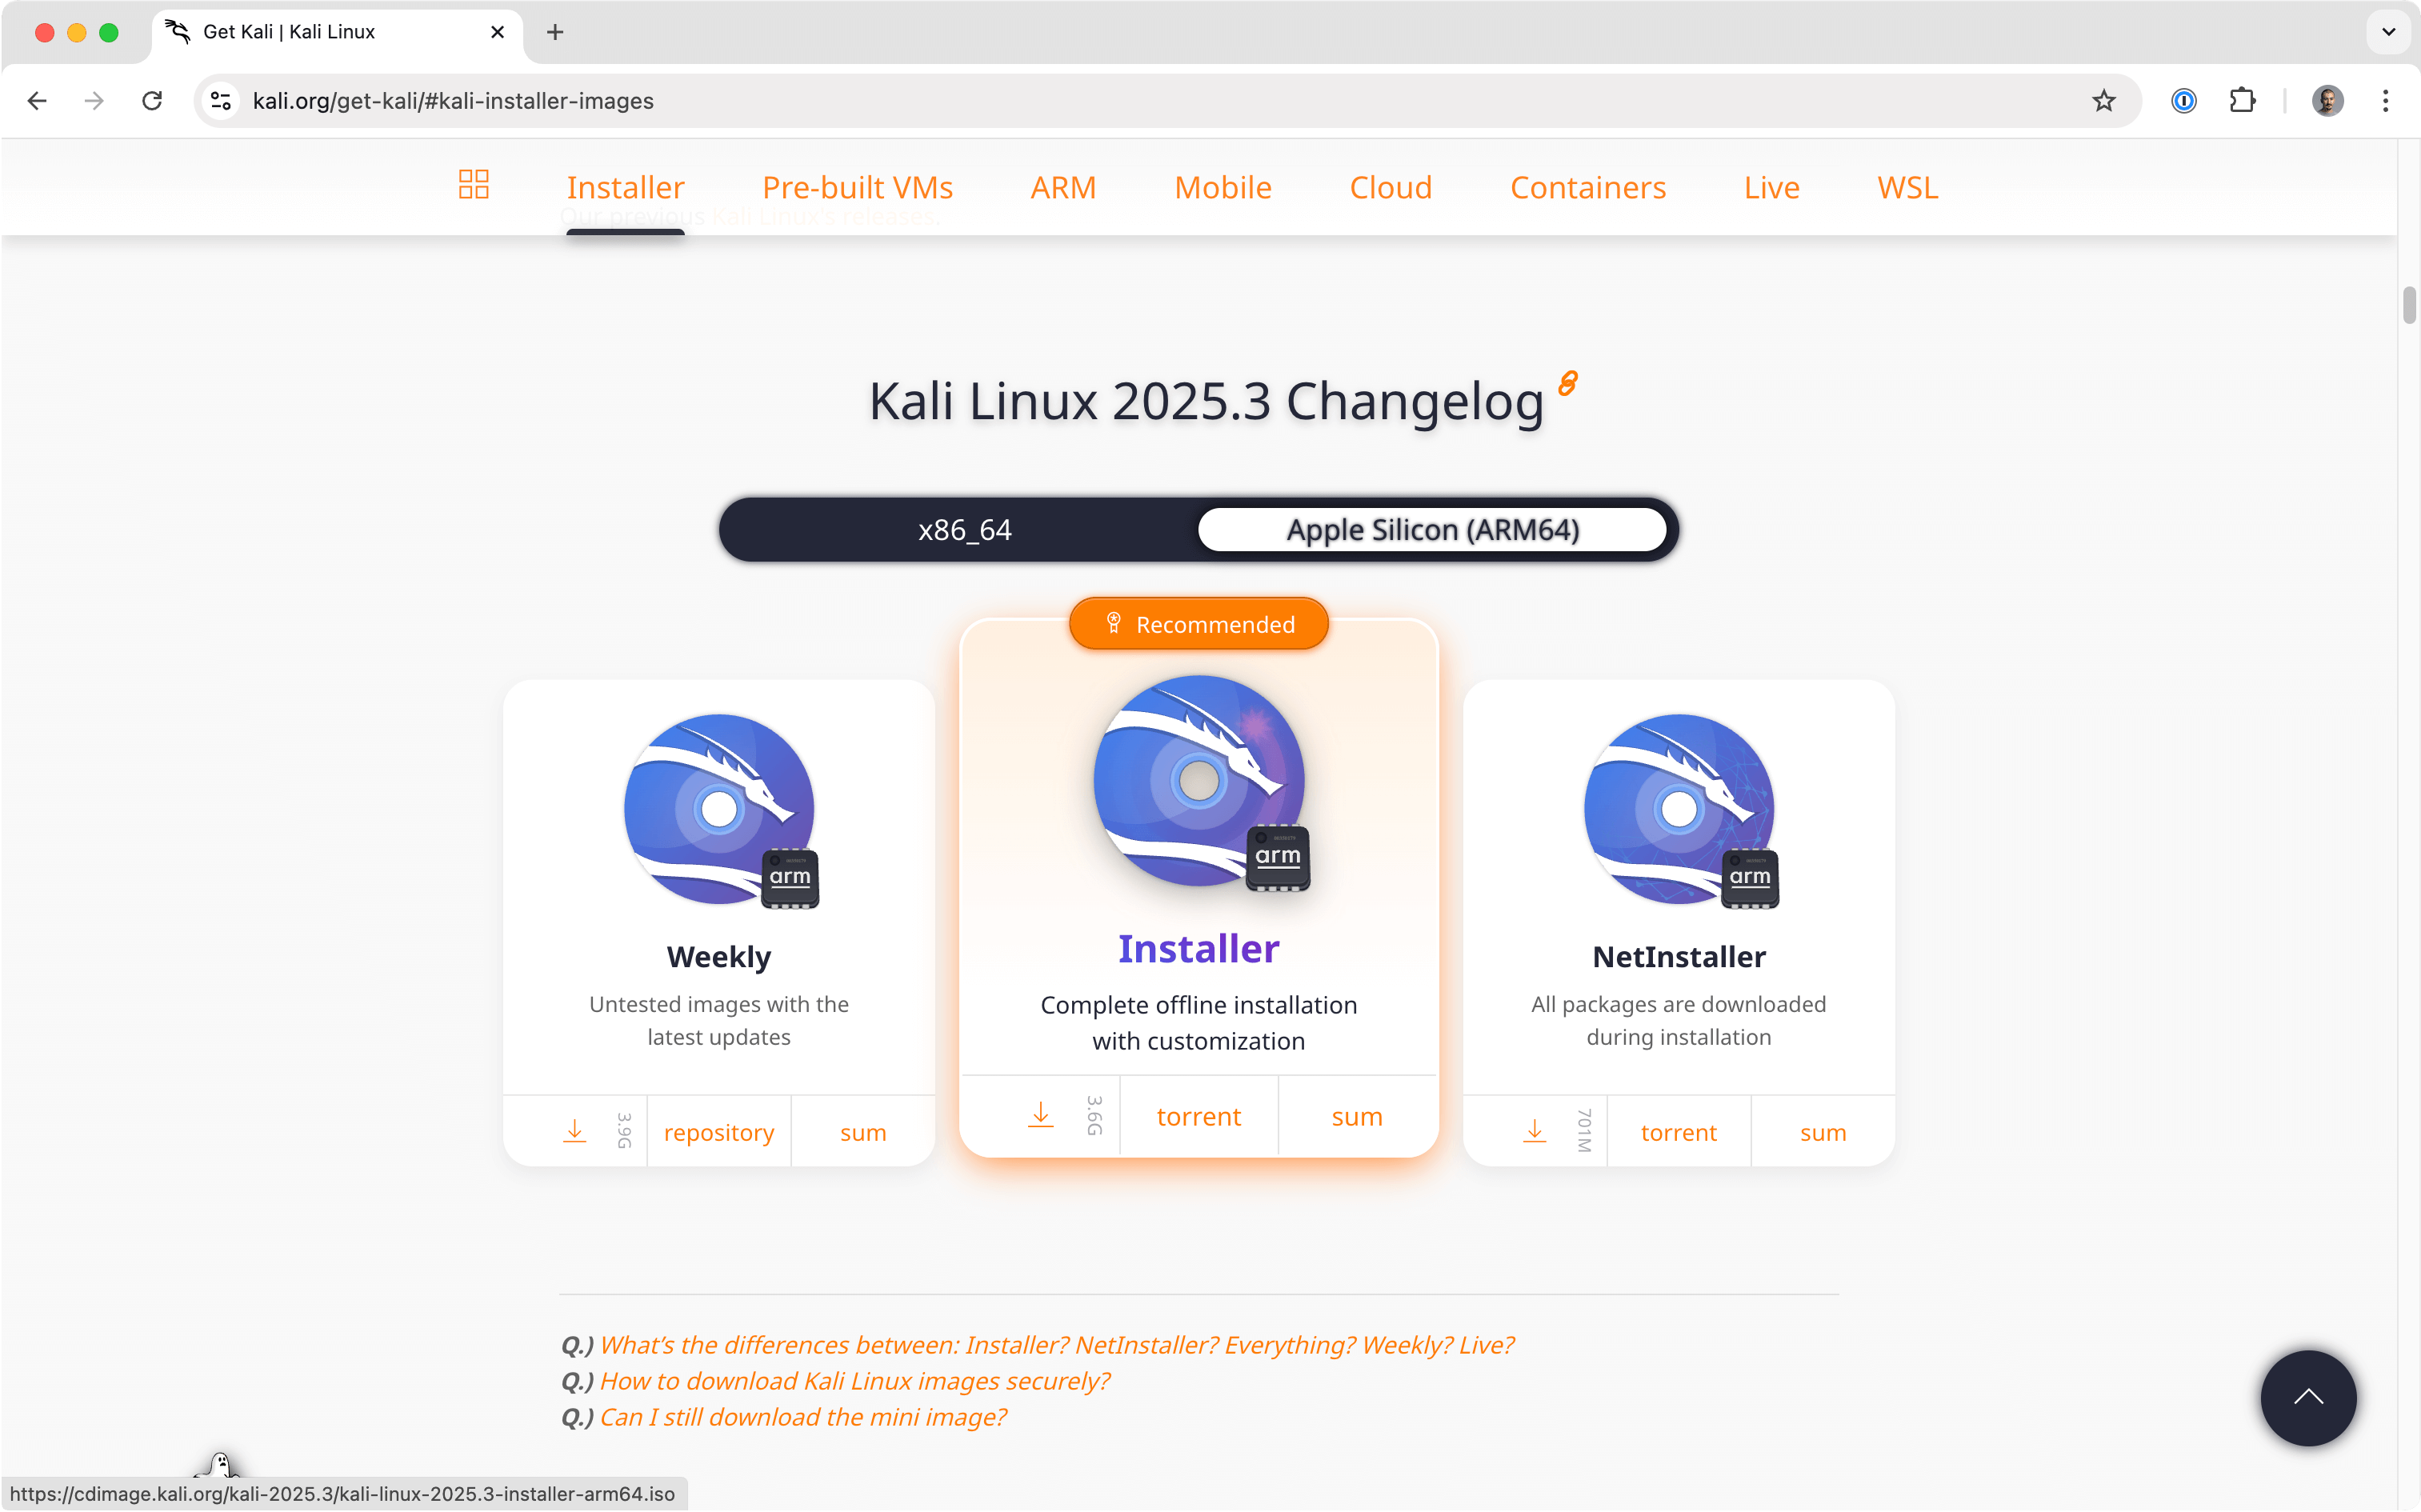
Download the Kali Linux ISO(opens in new tab) from the official website:
-
Start up VMware Fusion and drag the downloaded ISO file there
-
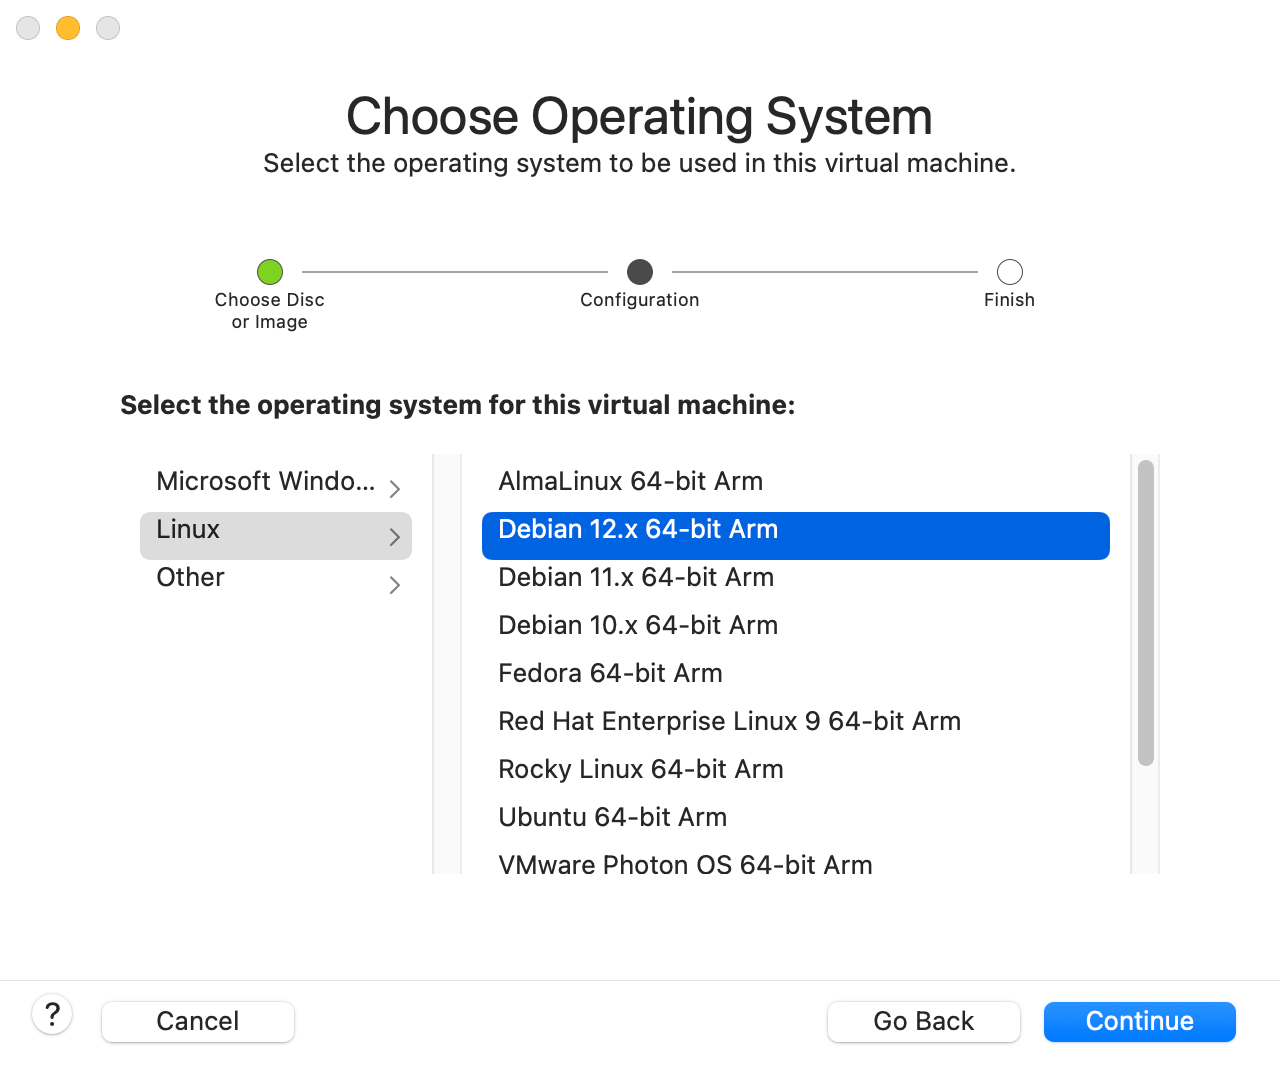
Create a new image using the Debian template (since Kali is based on Debian):
-
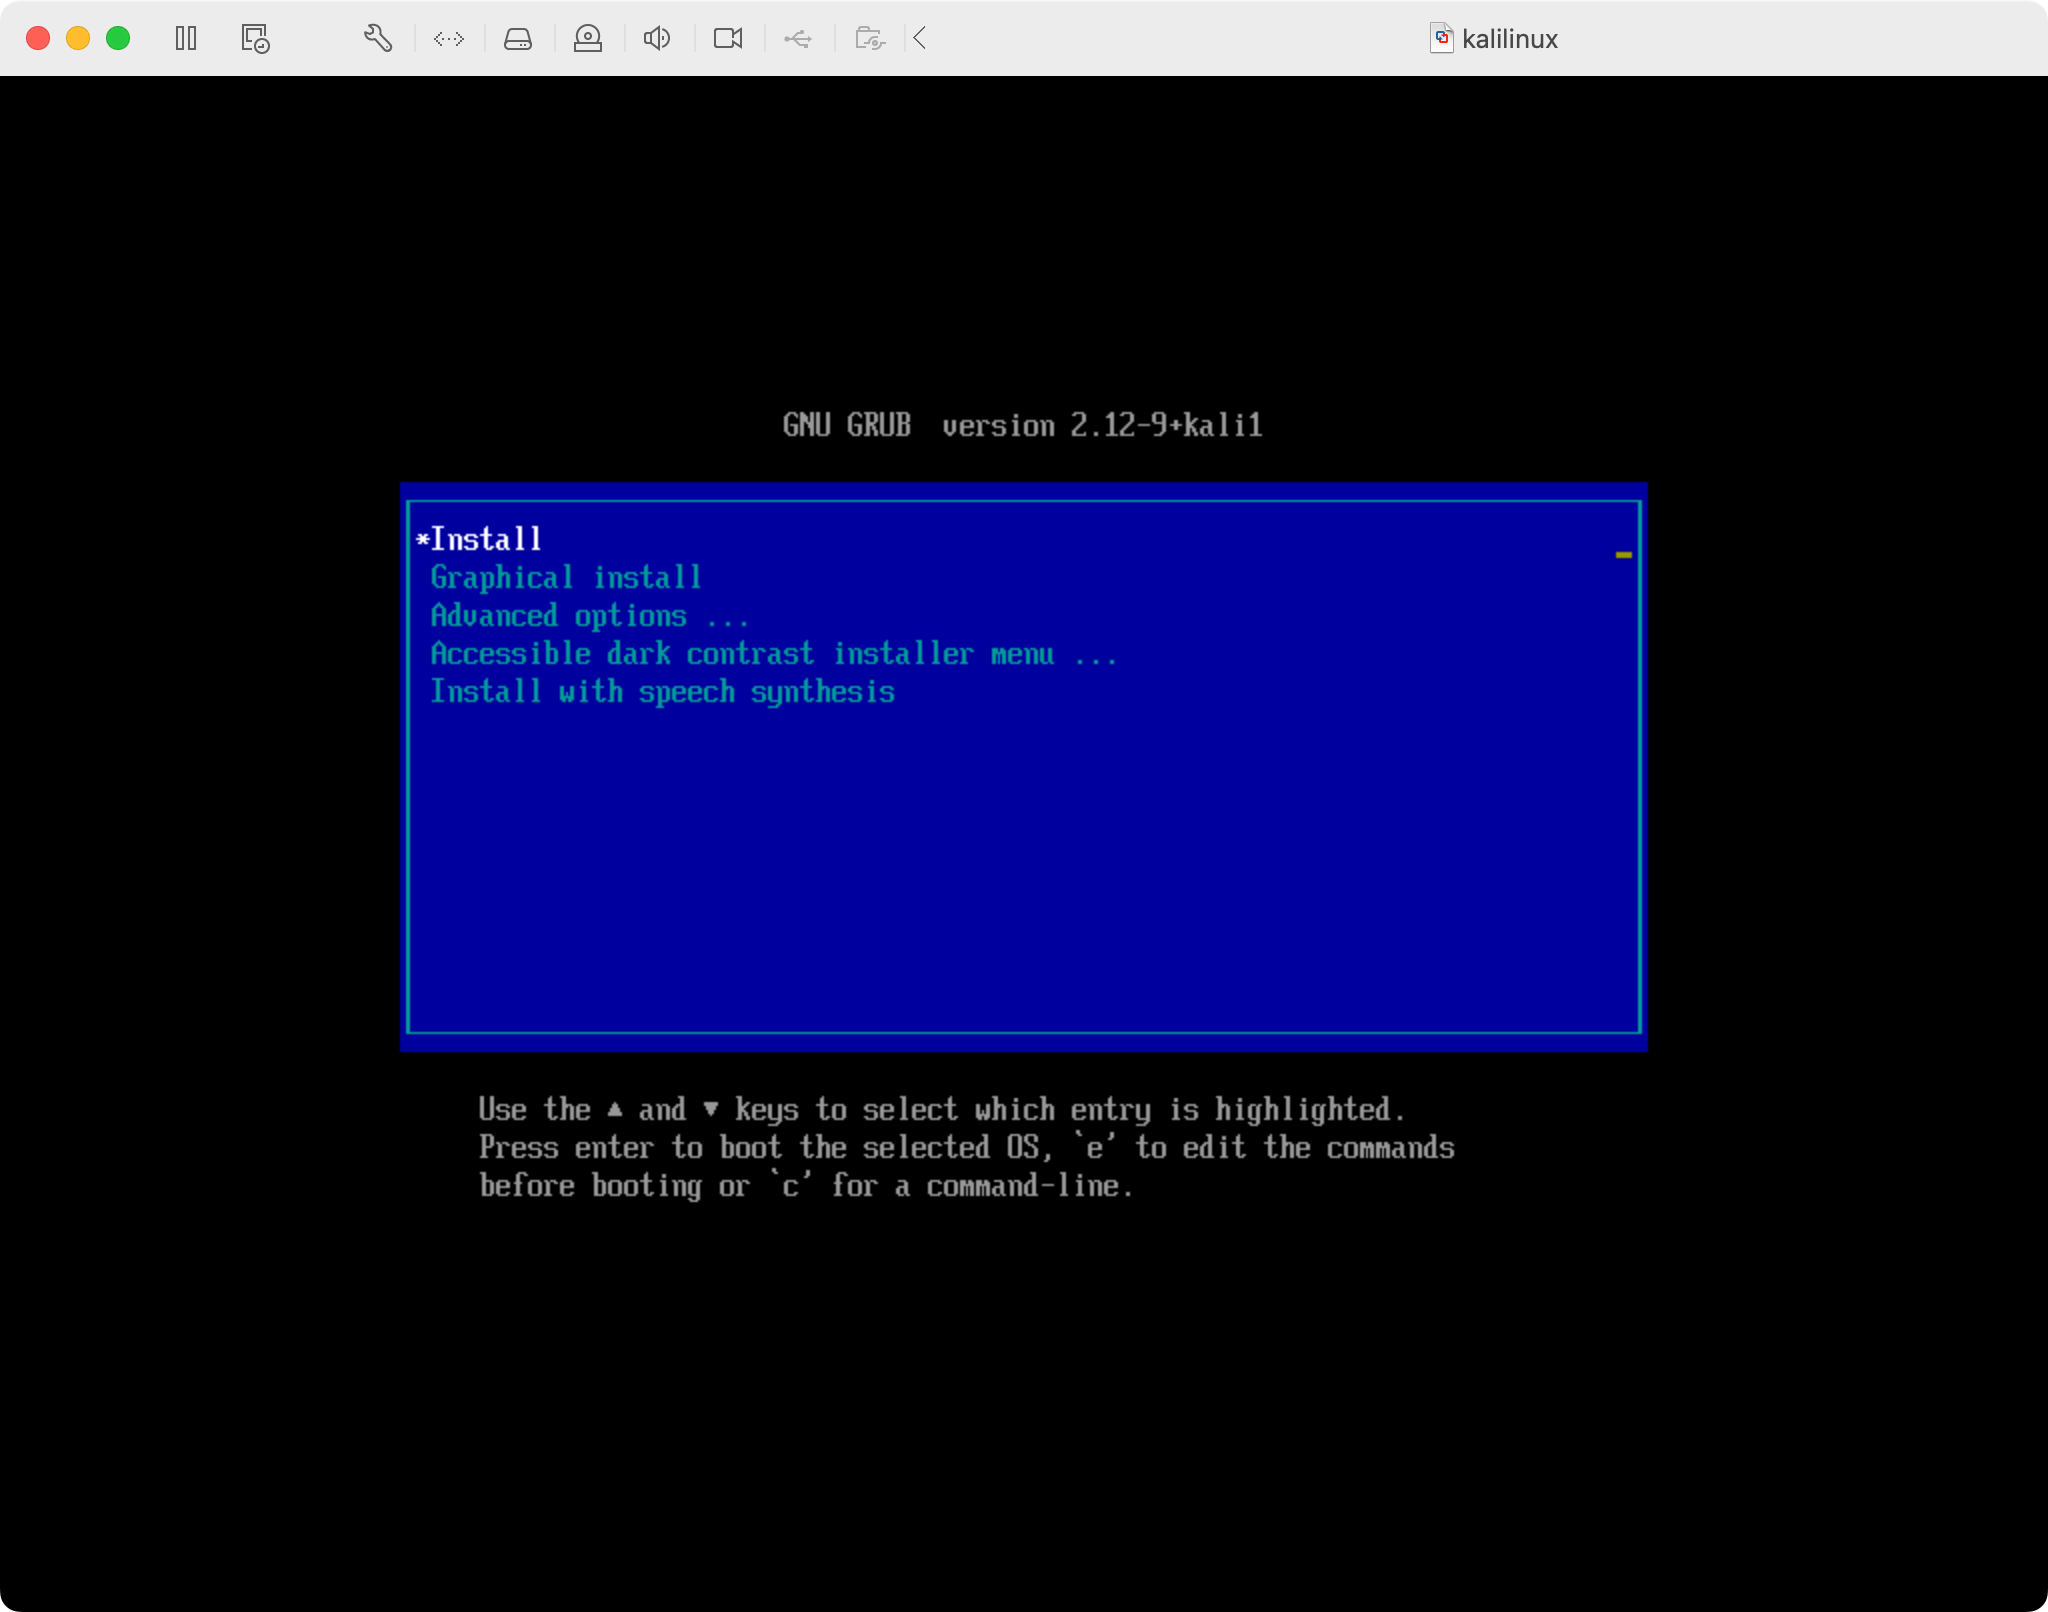
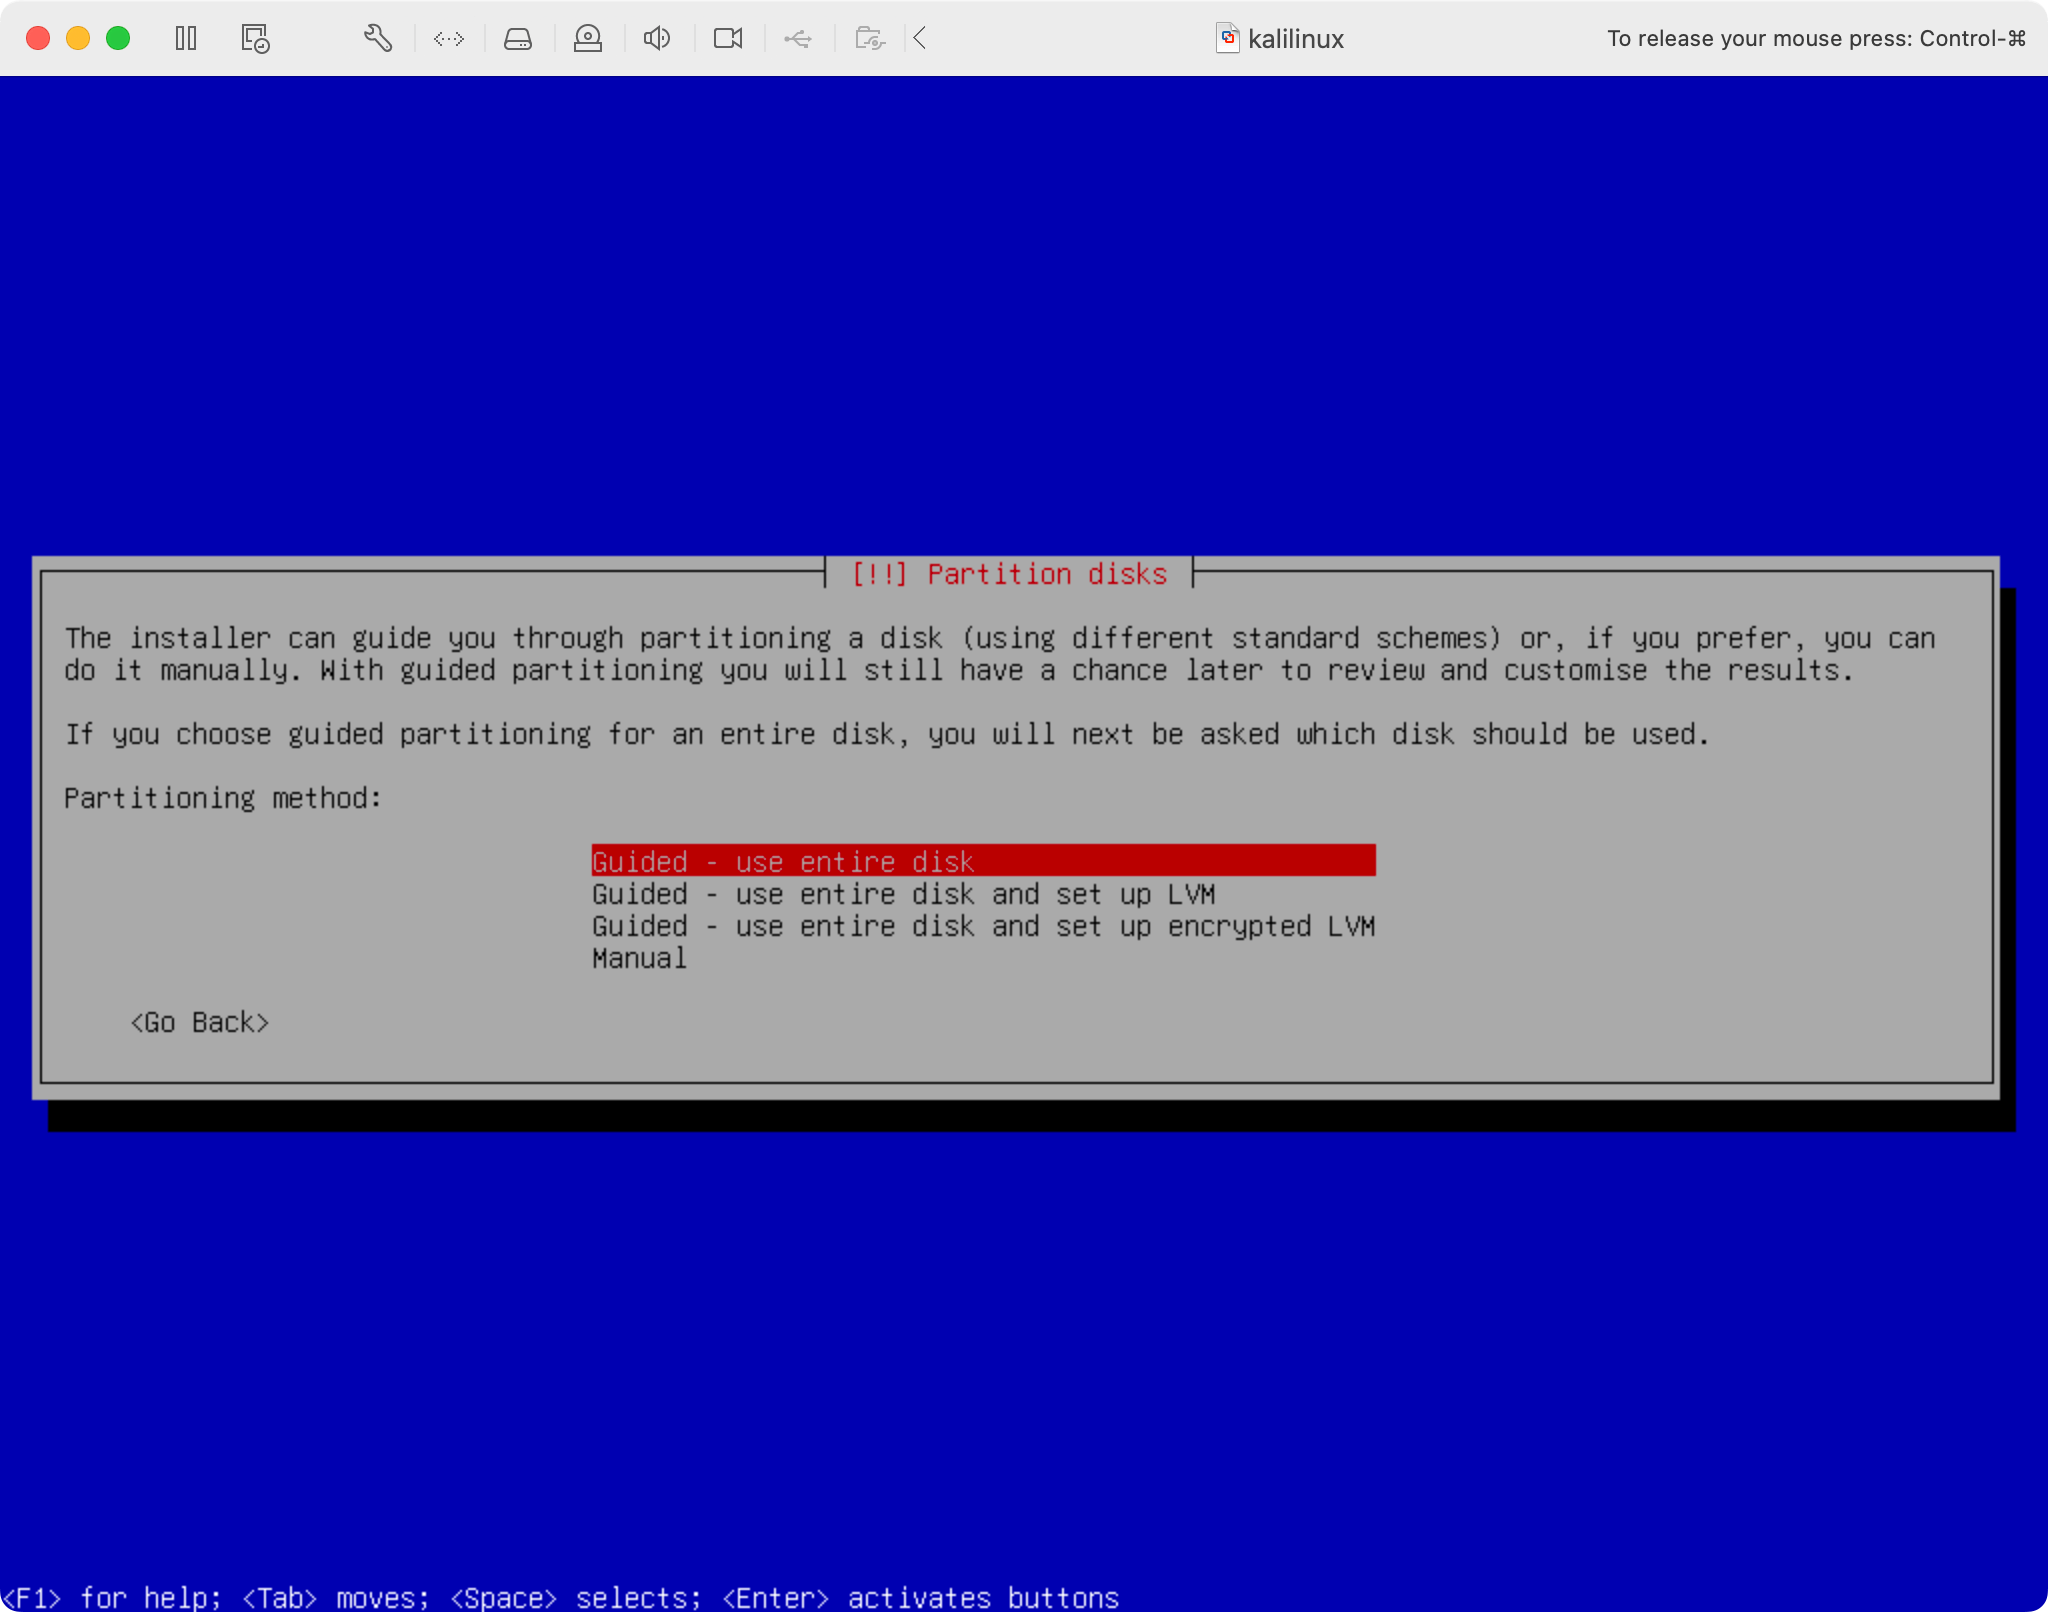
Run through the Kali installer using the preselected options:
-
Select "Guided - use entire disk" for disk partitioning:
-
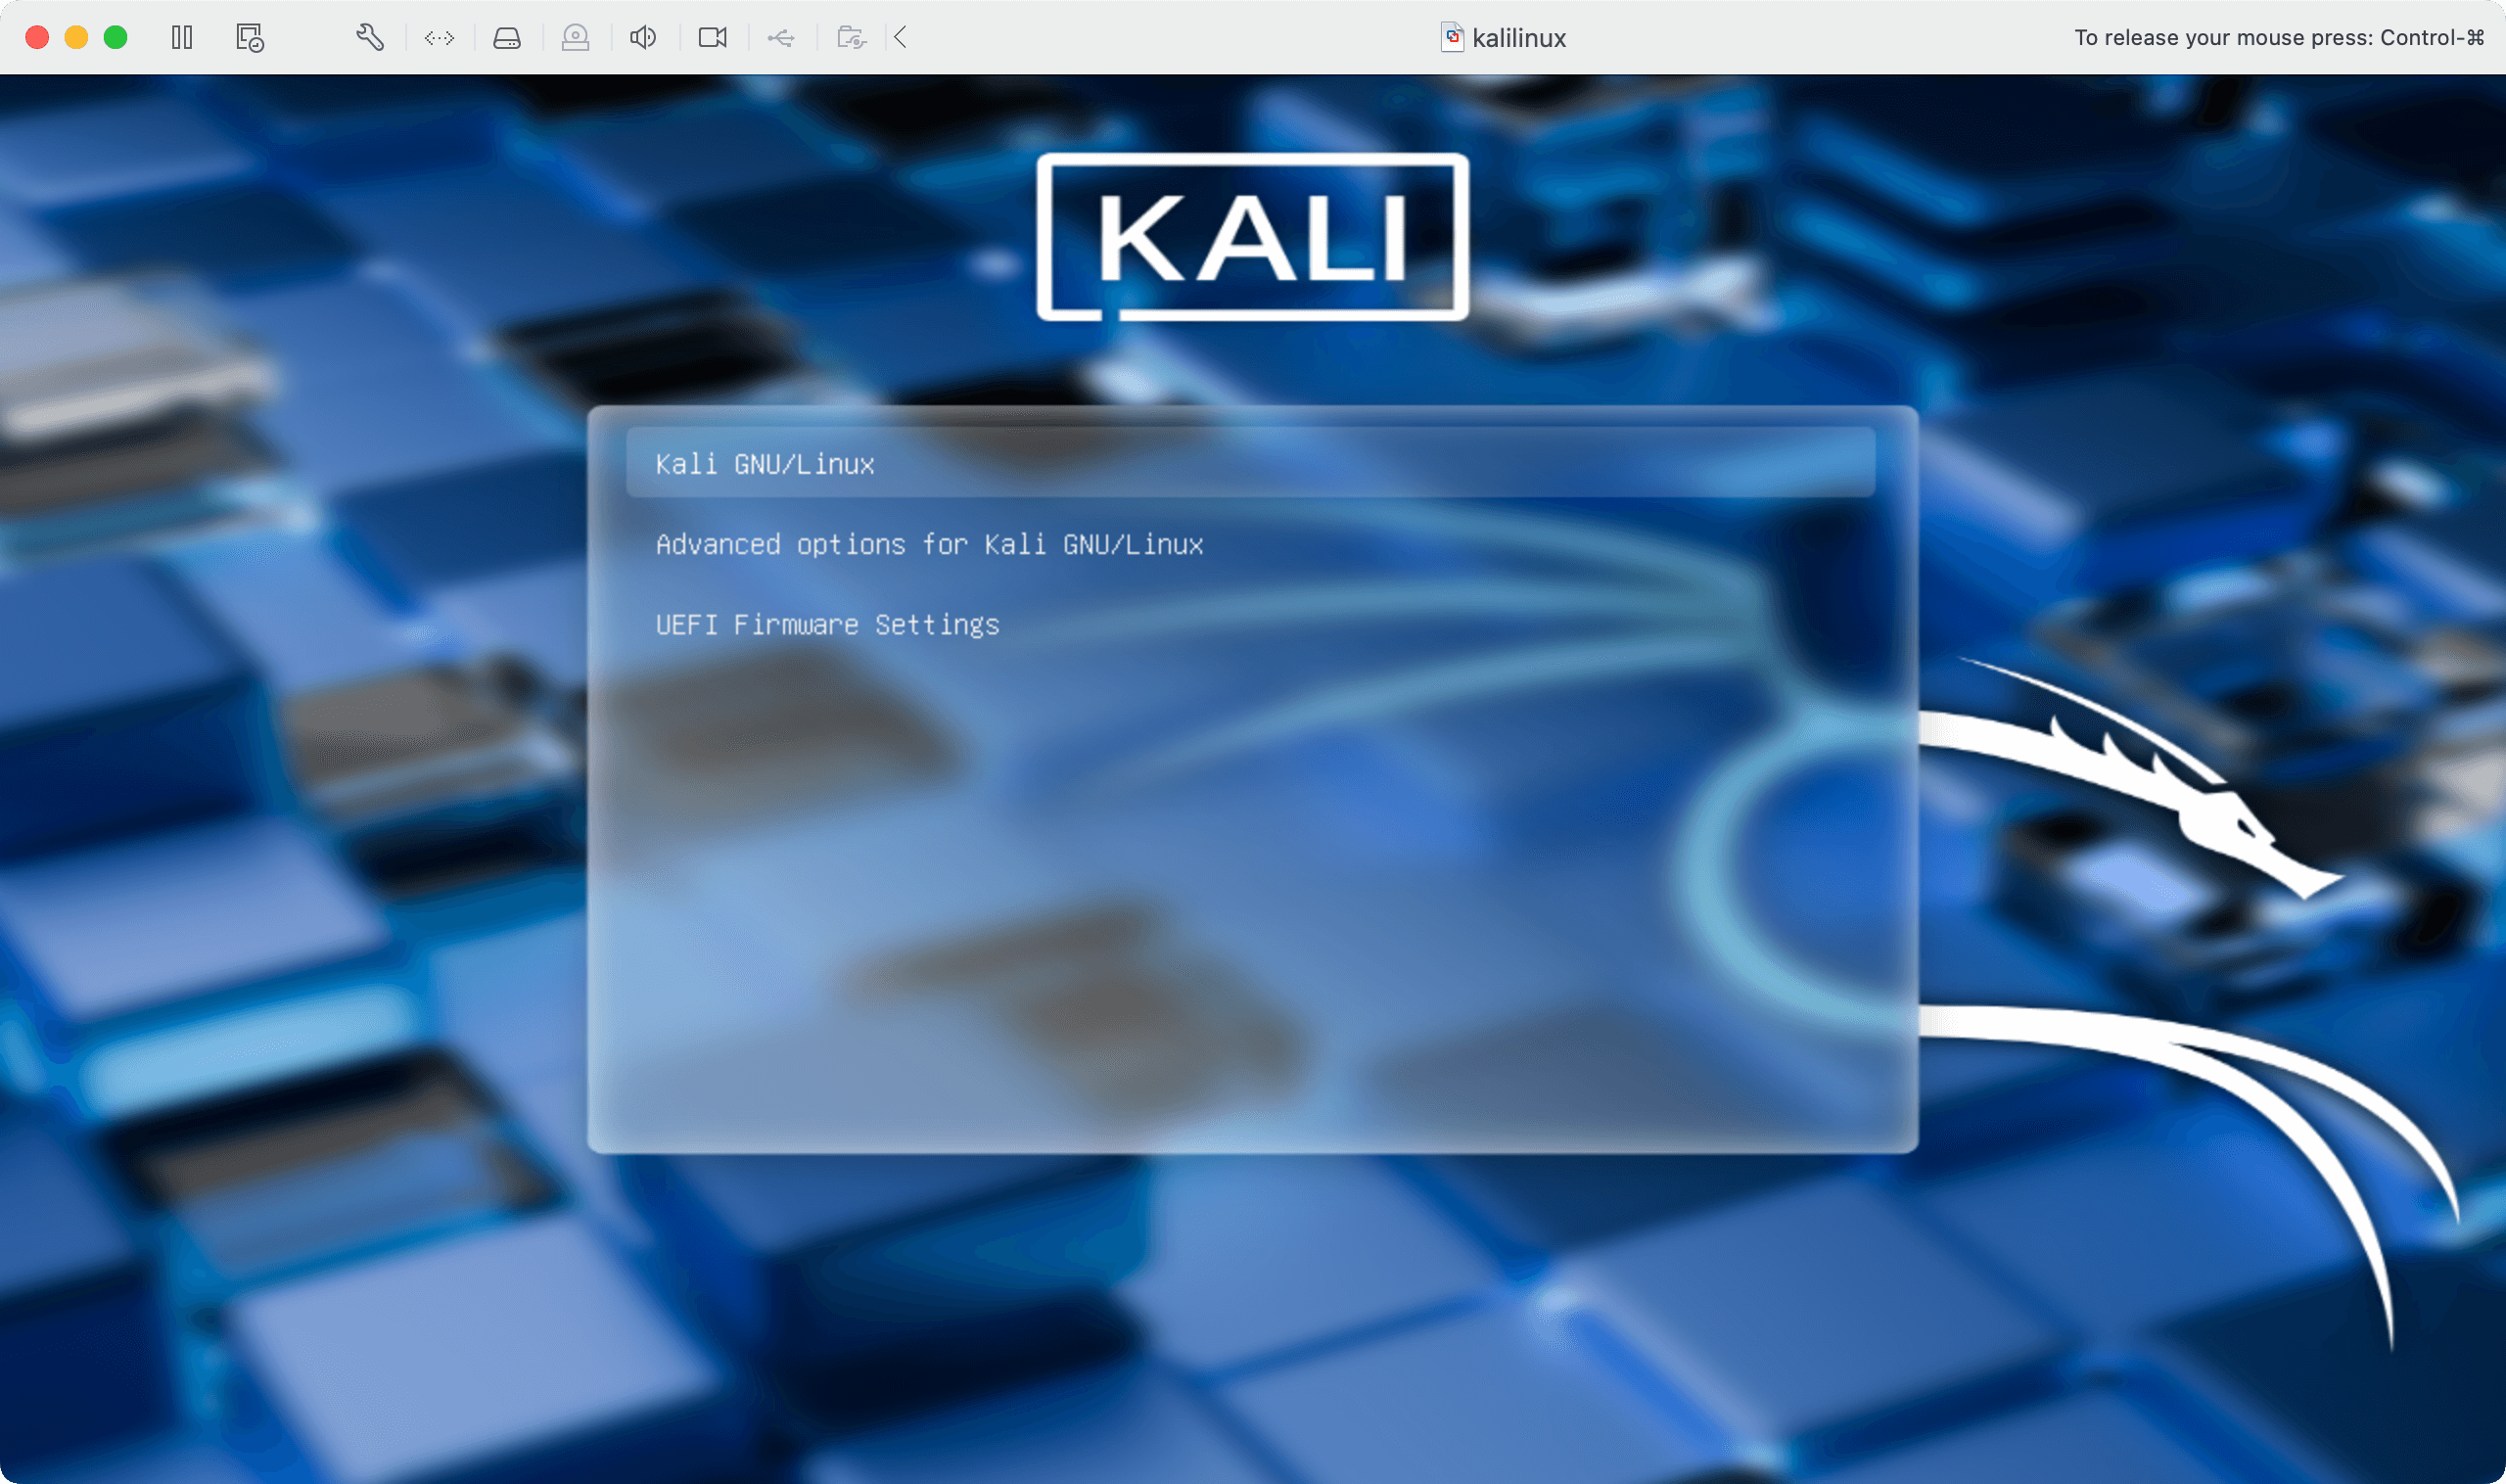
Once Kali boots, you should see this:
-
And once you log in, you should see this:

Setting up Tor
At the time of writing, we can't use the canonical Tor browser(opens in new tab) because it has no builds for ARM architecture CPUs, on which Apple Silicon machines are based. Check issue #12631(opens in new tab) in the Tor project for updates.
Even if you were to install the Tor browser, you'd get the following error upon starting it up:
Tor Browser requires a CPU with SSE2 support. Exiting.
For this reason, we'll be using Brave, as it has Tor connectivity built-in:
-
Download Brave for Linux(opens in new tab) on your Kali VM:
curl -fsS https://dl.brave.com/install.sh | sh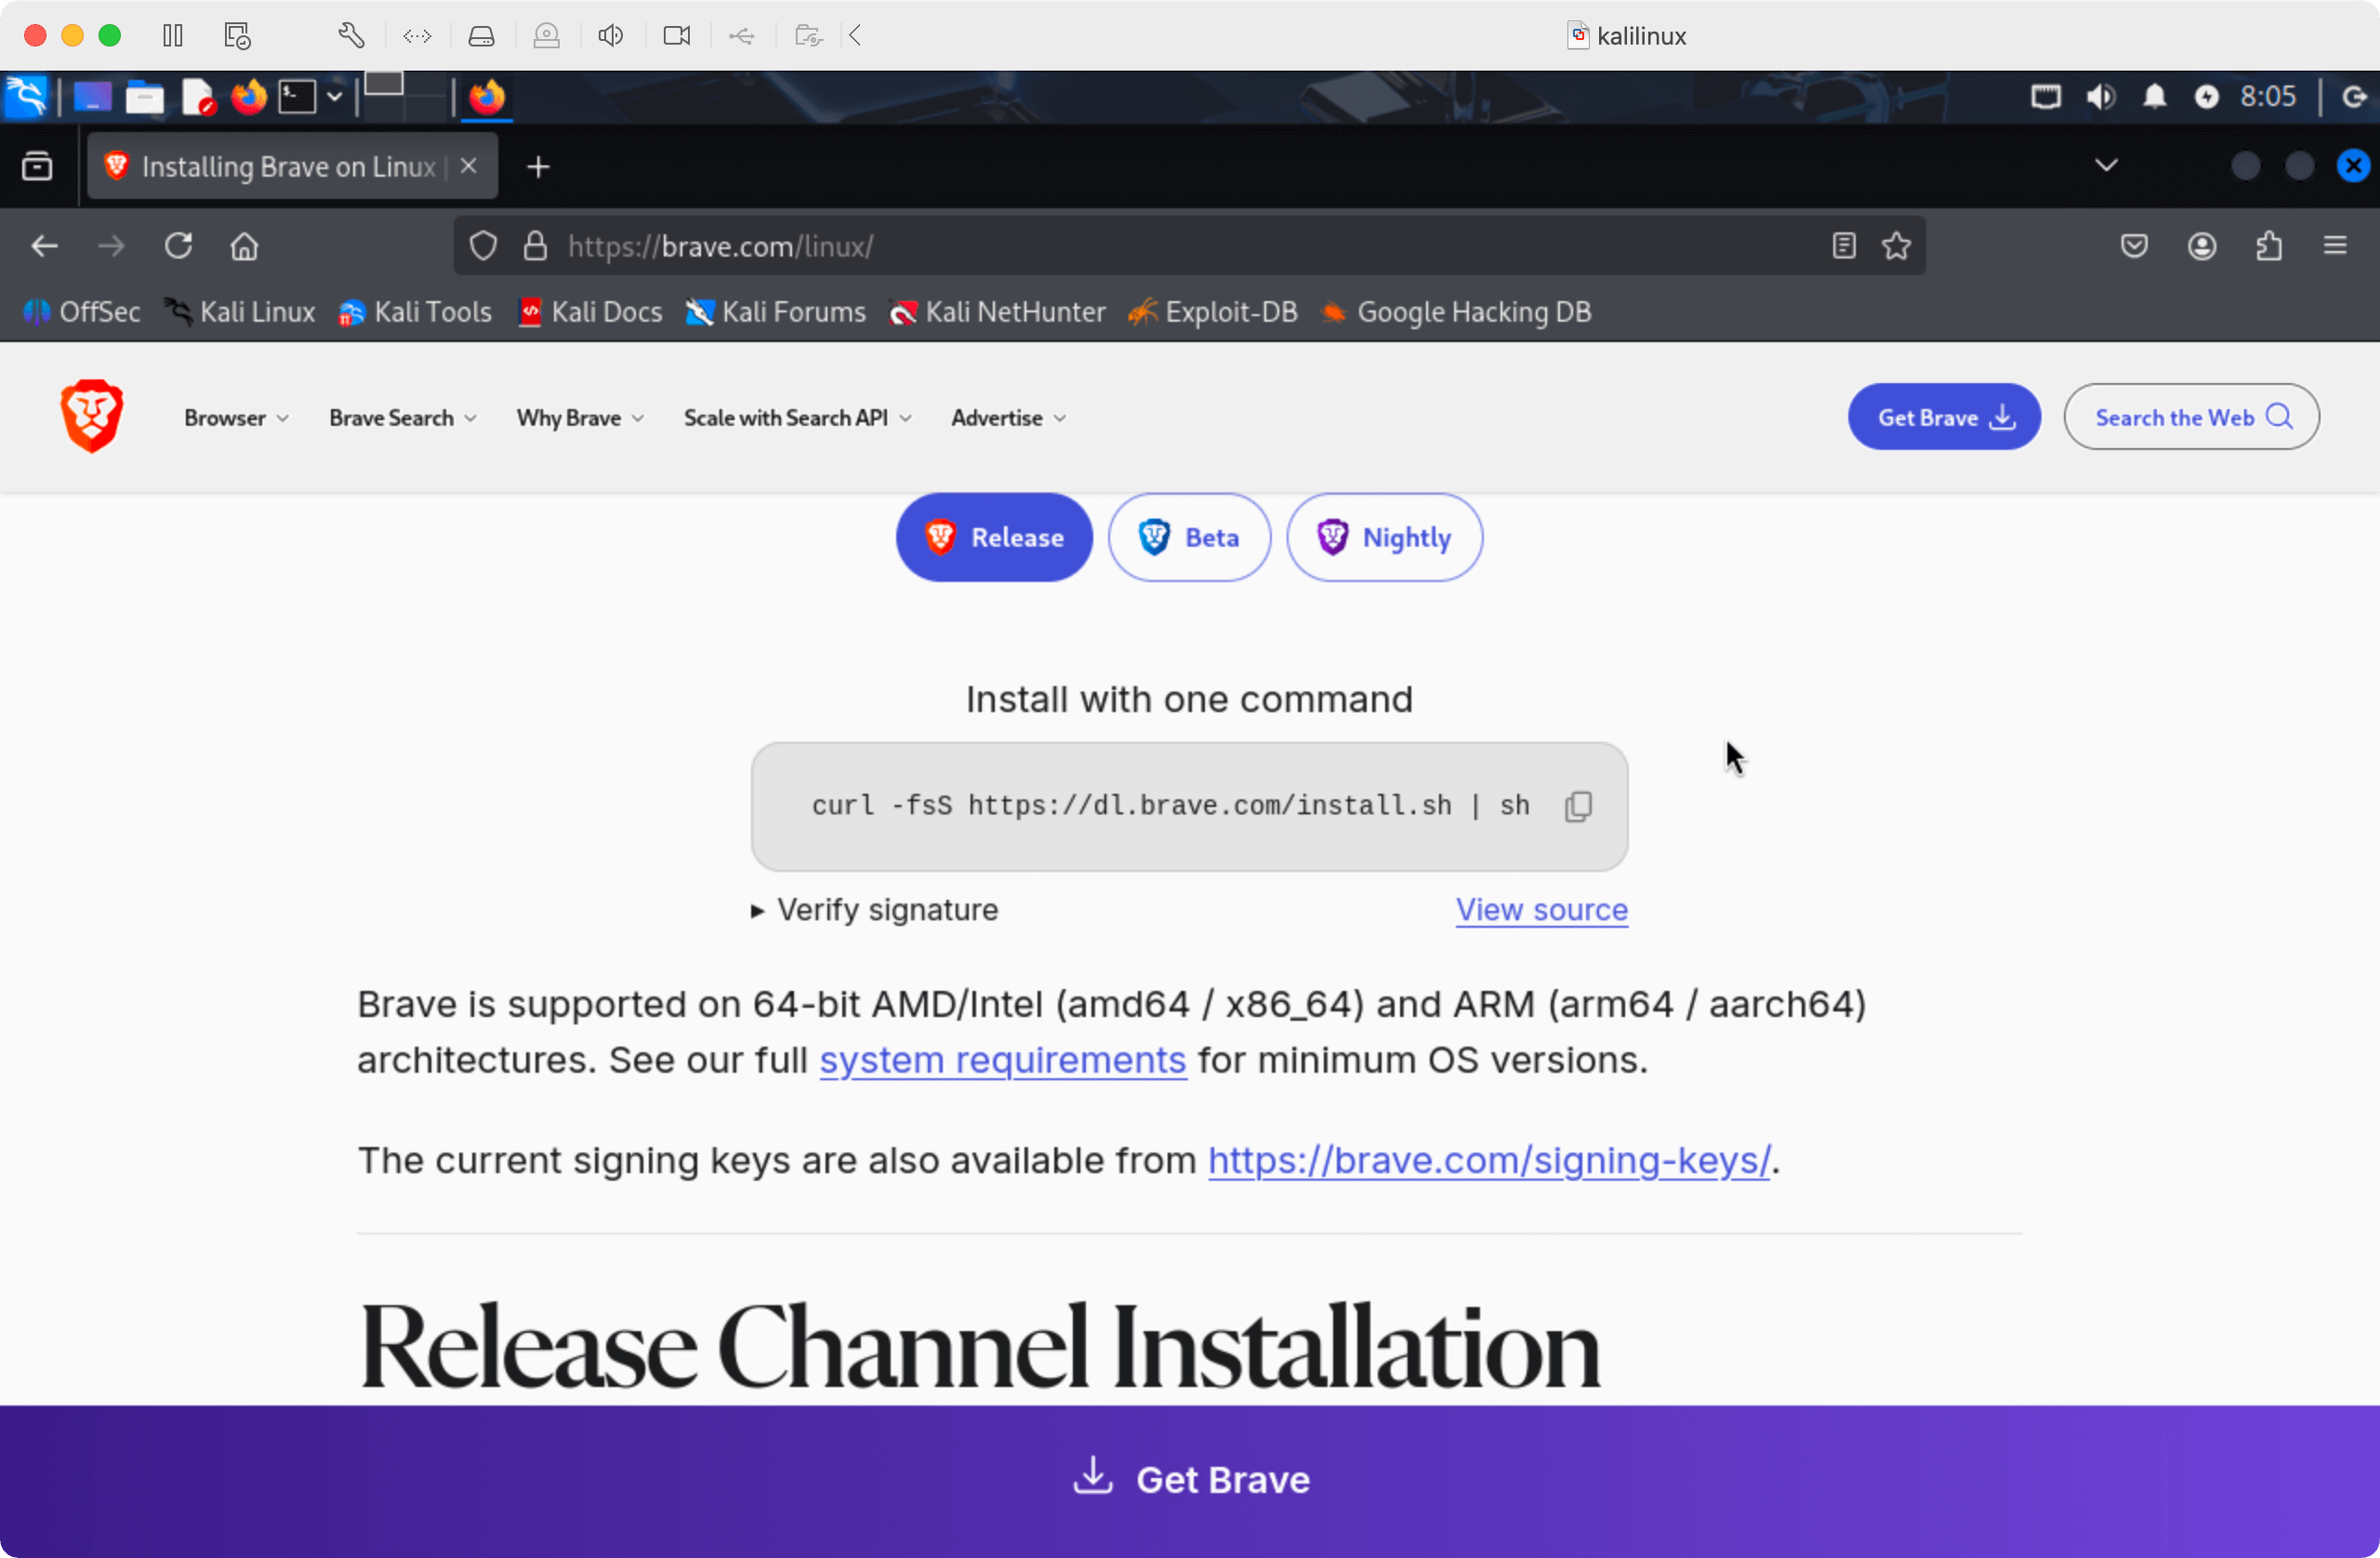
-
Start it by typing
brave-browserin the terminal
Setting up the VPN
For extra safety, you should connect your Kali VM to a VPN, so that the traffic doesn't return to your personal IP. I'm using Proton VPN(opens in new tab) because it's privacy-focused and free.
-
Create an account in Proton VPN(opens in new tab)
-
Download a
.ovpnconfig file from the Downloads page(opens in new tab) (scroll to the "OpenVPN configuration files" section):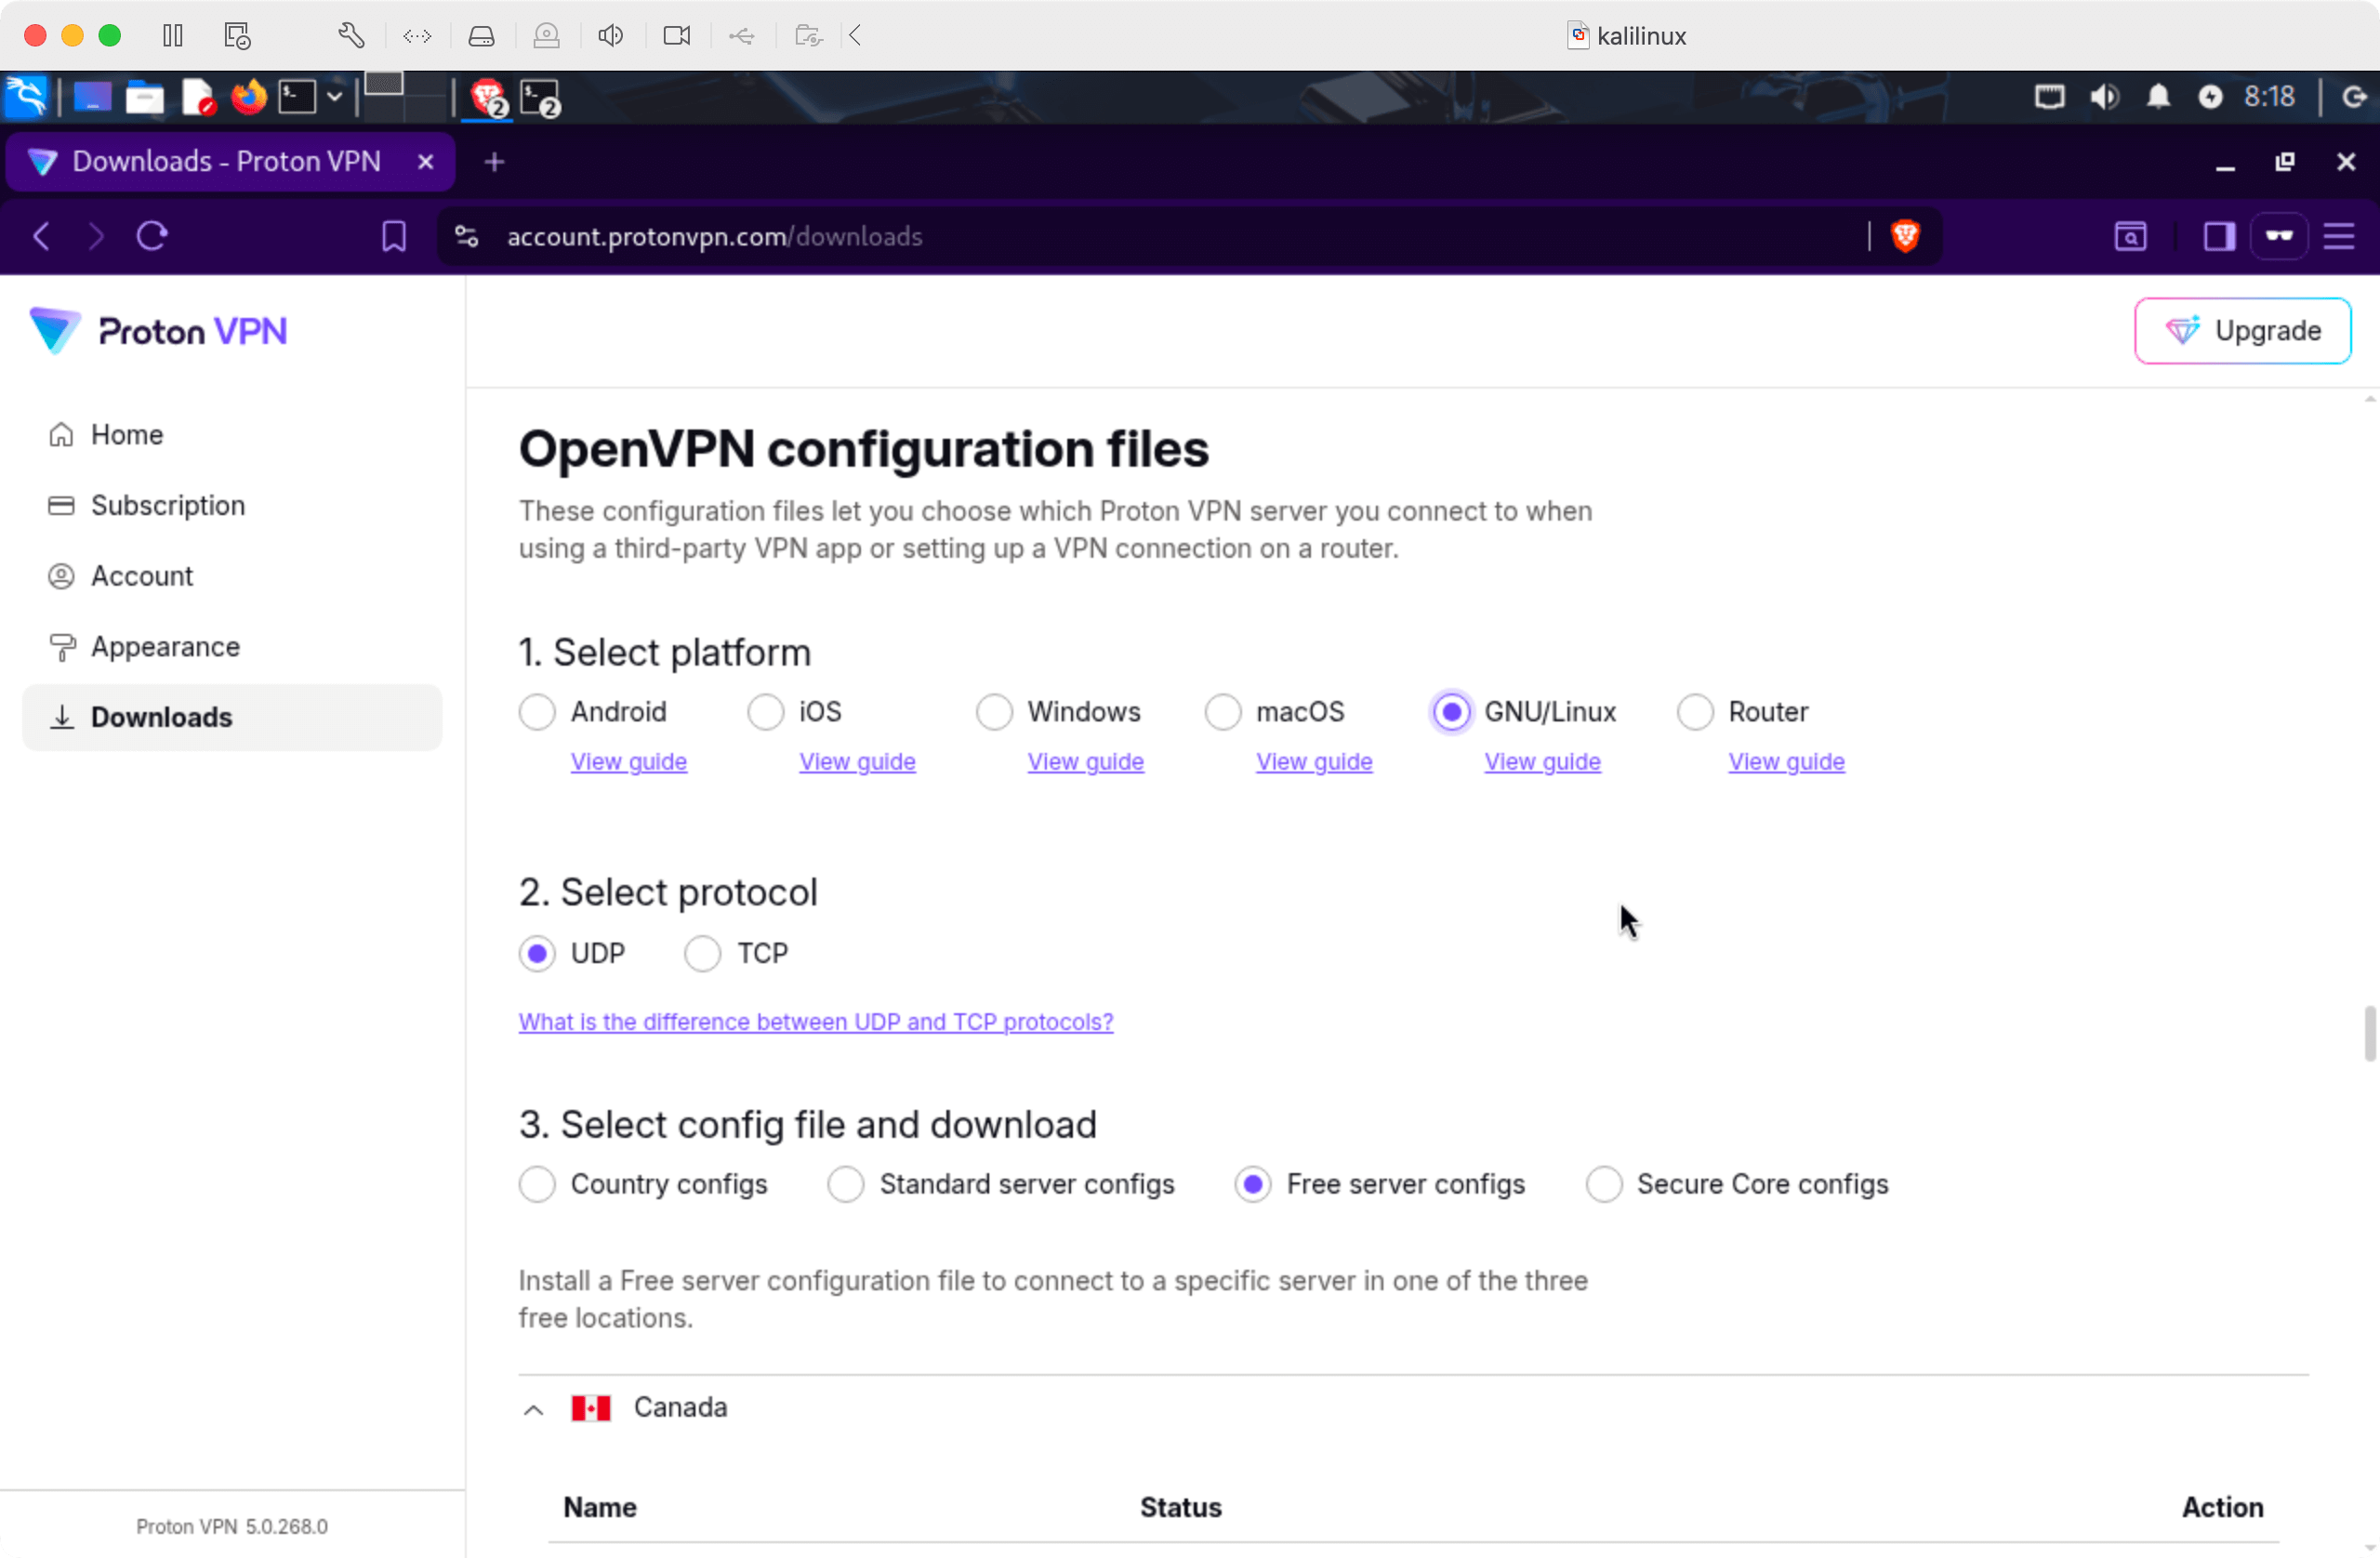
-
Install
openvpnwithsudo apt install openvpn, as described in the Kali docs(opens in new tab) -
Move the config file to
/etc/openvpn:sudo mv ~/Downloads/ch-free-2.protonvpn.udp.ovpn \ /etc/openvpn/ch-free-2.protonvpn.udp.confNote: The extension changes from
.ovpnto.conf, since that's what theopenvpnprogram expects! -
Get your VPN credentials from the Account page(opens in new tab):
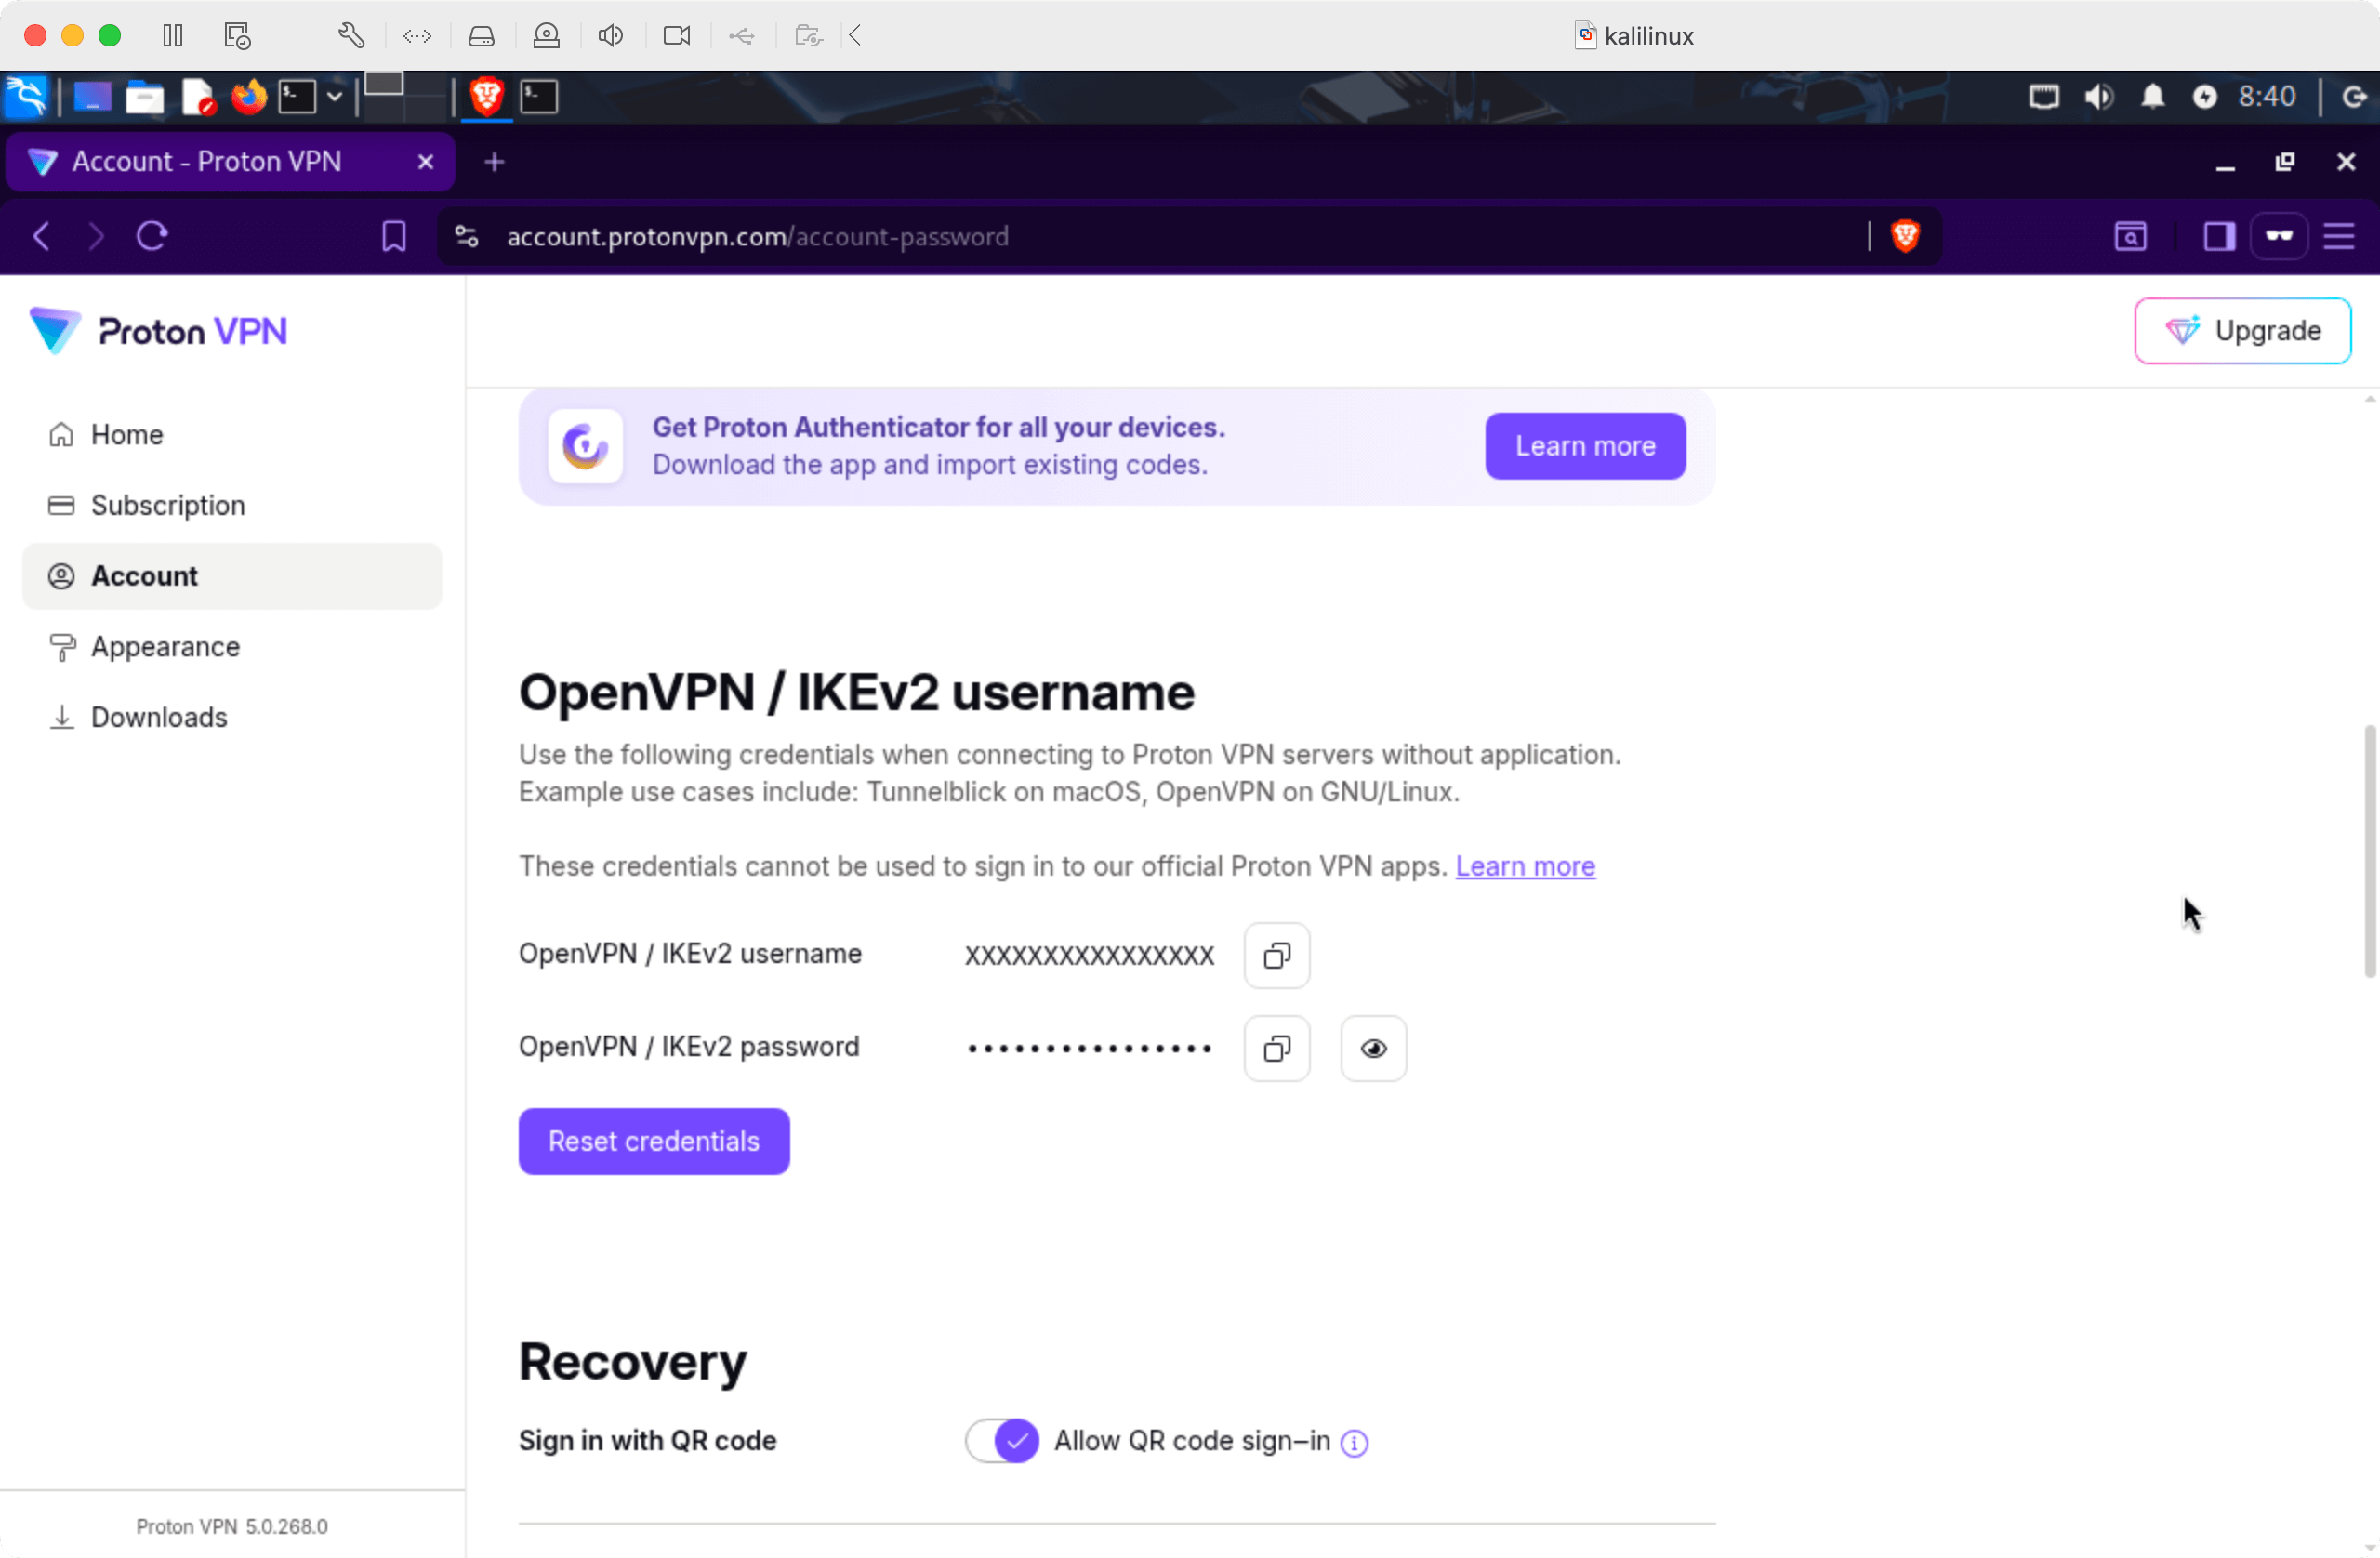
-
Store your credentials on disk:
sudo bash -c 'printf "%s\n%s\n" "YOUR_OPENVPN_USERNAME" "YOUR_OPENVPN_PASSWORD" > /etc/openvpn/credentials' sudo chmod 600 /etc/openvpn/credentials -
Change the config to point to the credentials file:
sudo sed -i 's/^auth-user-pass$/auth-user-pass \/etc\/openvpn\/credentials/' \ /etc/openvpn/ch-free-2.protonvpn.udp.conf -
Start the service:
sudo systemctl daemon-reload sudo systemctl enable --now [email protected] -
Open checkip.amazonaws.com(opens in new tab) on both the VM and the host OS and verify that the IPs are different
-
Restart the VM and verify that you get automatically connected to the VPN
Browse with Tor
Now that you have a fully configured VM with a VPN and a Tor browser, simply start Brave in Tor mode and surf the (dark) web!
To be extra sure, open check.torproject.org(opens in new tab) to verify that you are indeed using Tor:
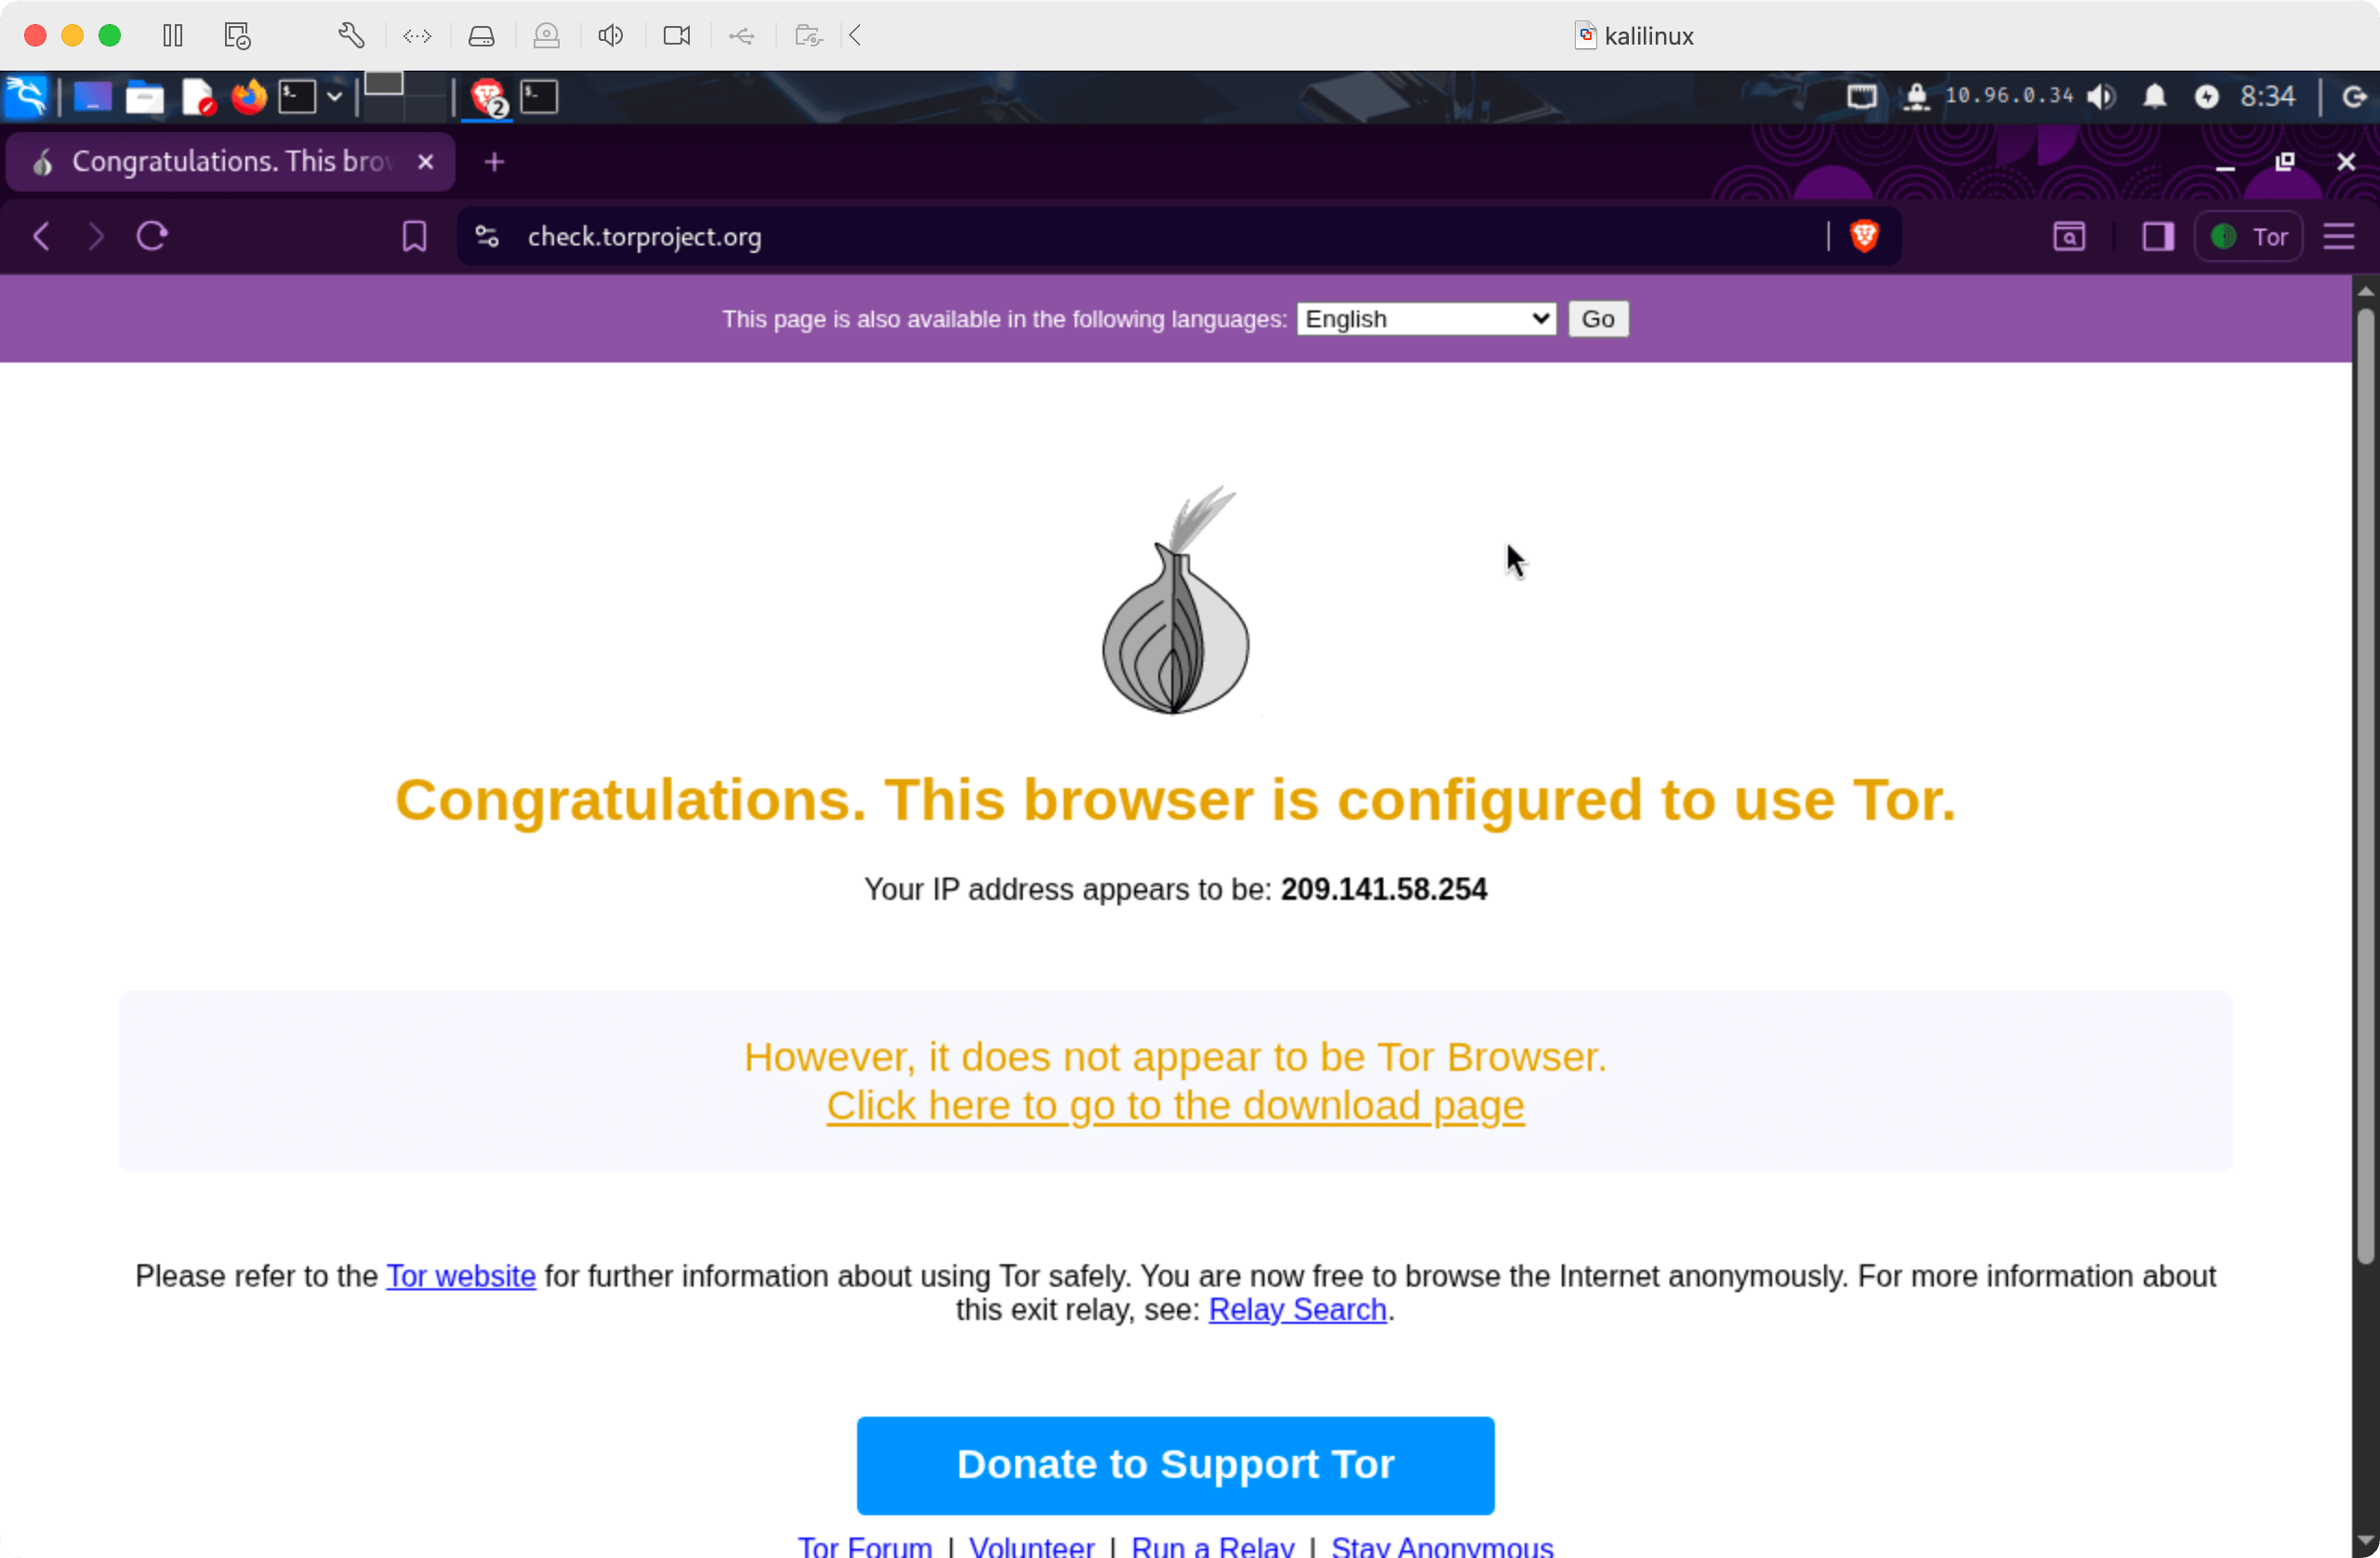
-